Brazilian Wood Depot
6770 Buford Highway NE
Atlanta, GA 30340
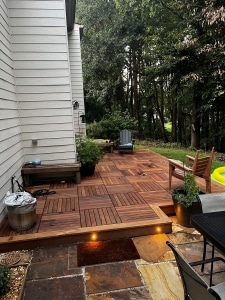
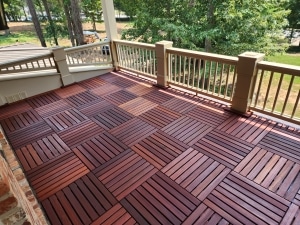
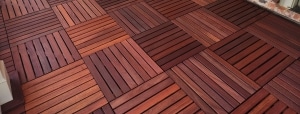
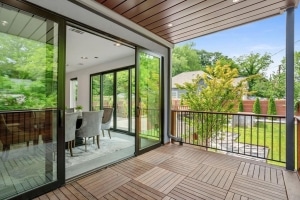
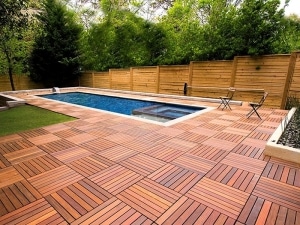
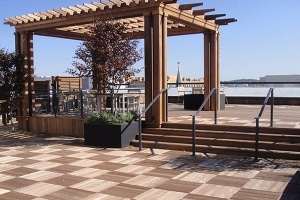
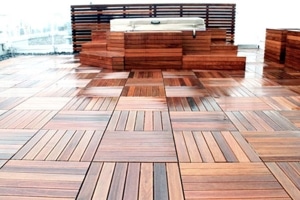
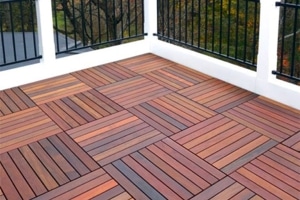
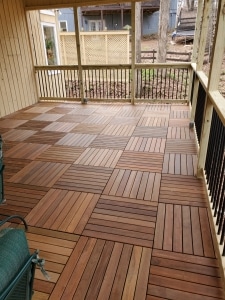
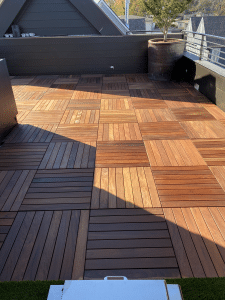
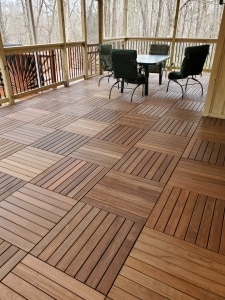
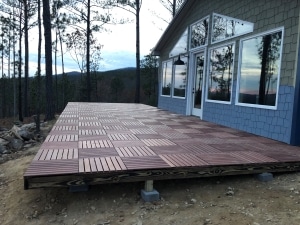
Ipe Deck Tiles are the ideal solution for rooftop, patio and deck top transformation into an enjoyable hardwood deck. They are easy to install, beautiful, durable, cost effective, and easy to maintain. You can transform your garden, patio, roof or balcony, with these easily installed ipe deck tiles.
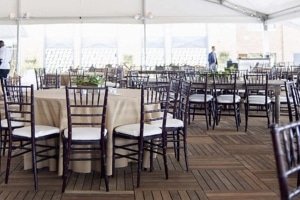
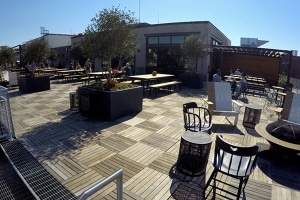
They are also used in large commercial areas like bars, restaurants, exhibition areas and office buildings with heavy pedestrian traffic. Ipe Wood is incredibly durable and naturally resistant to rot, decay, and termites.
Available Species
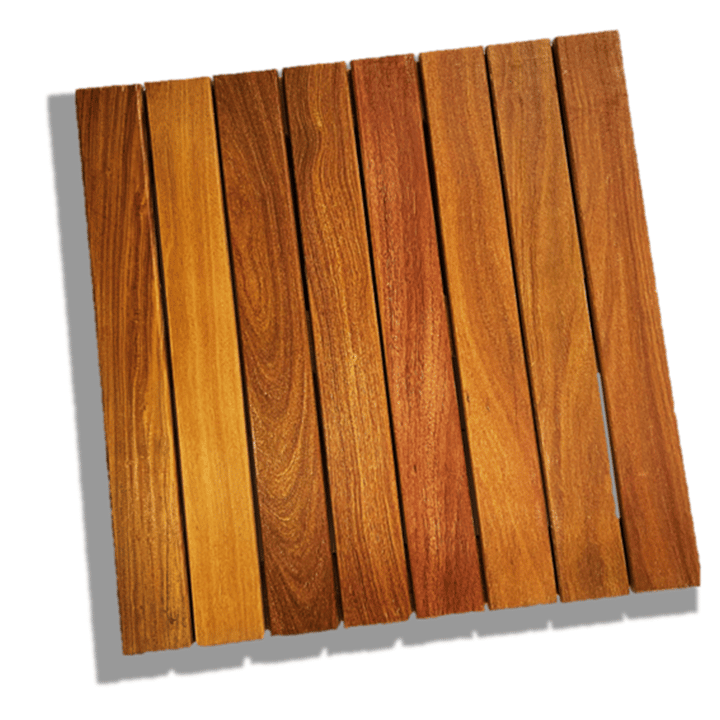
Ipe Deck Tiles
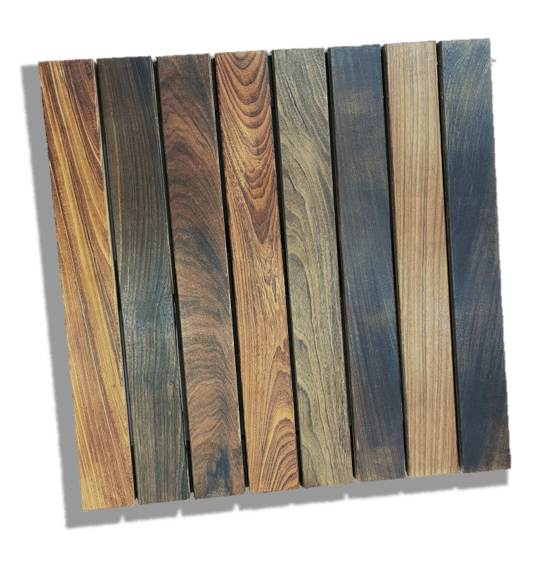
- Planks: 8 planks.
- Weight: 21 lbs 6 oz
- Smooth surface: 24″ x 24″
- Thickness: 1.5″
- Net Finished Dimensions: 1.5″ x 23-7/8″ x 23 x 7/8″
- Plank Spacing: approx. .22″-.23″
- Fire Rating: Class A: (Meets and exceeds ASTM E108-07a Class A Spread of Flame Test).
- Sustainable & responsibly forested
- Weatherproof
- Easy to handle & install
- Low or no maintenance*
- Easy to clean, resistant to mold & moisture
- Each tile has 3 slats underneath attached with 16 stainless steel screws.
- Built using all stainless steel hardware.
- Pre-fabricated holes to best & exact installation with the connectors.
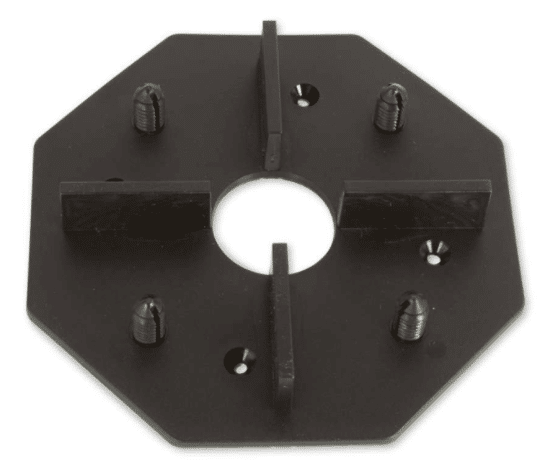
- Decking tile Connectors (Sold separately): Hidden and connected underneath the tiles
Cumaru Deck Tiles
- Planks: 8 planks.
- Weight: 20.5 lbs
- Smooth surface: 24″ x 24″
- Thickness: 1.5″
- Net Finished Dimensions: 1.5″ x 23-7/8″ x 23 x 7/8″
- Plank Spacing: approx. .19″-.22″
- Fire Rating: Class A/B
- Sustainable & responsibly forested
- Weatherproof
- Easy to handle & install
- Low or no maintenance*
- Easy to clean, resistant to mold & moisture
- Each tile has 3 slats underneath attached with 16 stainless steel screws.
- Built using all stainless steel hardware.
- Pre-fabricated holes to best & exact installation with the connectors.
- Decking tile Connectors (Sold separately): Hidden and connected underneath the tiles
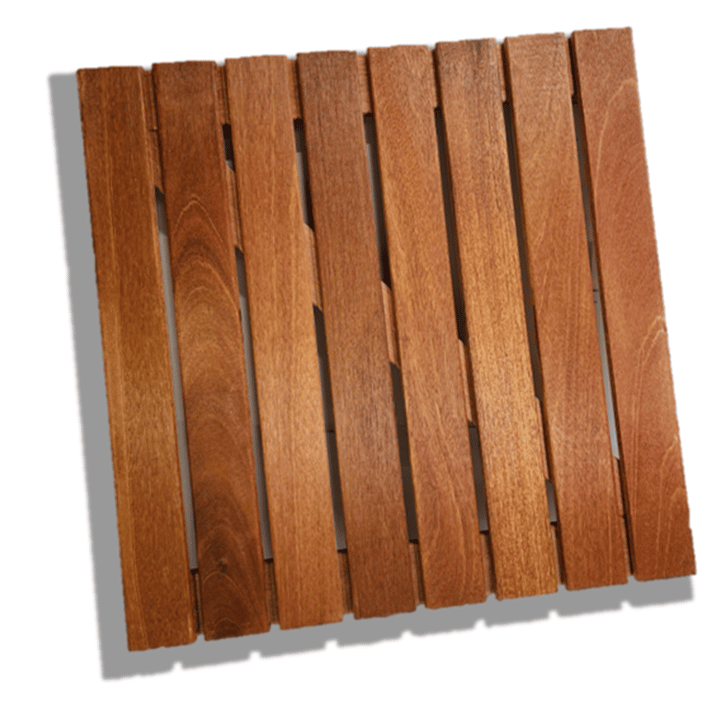
Red Balau Deck Tiles
- Planks: 8 planks.
- Weight: 13.5 lbs
- Smooth surface: 24″ x 24″
- Thickness: 1-3/16″
- Net Finished Dimensions: 1-3/16″ x 24″ x 24″
- Plank Spacing: approx. .39″ x .41″
- Sustainable & responsibly forested
- Weatherproof
- Easy to handle & install
- Low or no maintenance*
- Easy to clean, resistant to mold & moisture
- Each tile has 3 slats underneath attached with 16 stainless steel screws.
- Built using all stainless steel hardware.
- Pre-fabricated holes to best & exact installation with the connectors.
- Decking tile Connectors (Sold separately): Hidden and connected underneath the tiles
Need help with sqare footage calculation?
Call us now at 770-242-0045 for pricing and coverage information.
Installing Deck Tiles
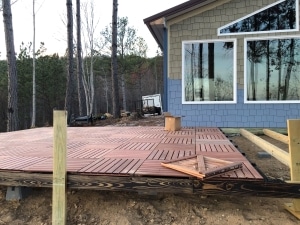
There are two main fastening methods, for Deck Tiles. Most circumstances will either utilize Deck Tile Connectors or Deck Tile Pedestals.
Deck Tile Connectors
Deck Tile Connectors are very cost-effective and easy to work with. The Tiles are pre-drill ed with 3/8″ holes, in the corners. These holes are meant to be pushed onto the ribbed posts on the Connectors. Connectors can be screwed directly to concrete or to a frame. Joists/framing would need to be spaced at 12″ or 24″, on-center. The connectors are also scored on either side of all four spacers. Using a sharp knife, you can deepen these scores and break apart the connectors to change the shape. This comes in particularly handy around the perimeter of the coverage area. See the Installation Document below for more details on installation.
Deck Tile Pedestals
Deck Tile Pedestals are made by a variety of manufacturers.
Cutting Partial Tiles
You can use a standard skil saw blade to cut these tiles. Cutting them from the bottom will make it easier to avoid the screws. Remove any screws from the cut off pieces and screw them back into the desired cut piece where necessary. Then, you’ll need to drill new corner holes to accommodate the connectors. You can use the connectors as a guide to drill these holes exactly where you need them. Use an orbital or palm sander to ease the edges on the top of the cut edge to match the other edges.
It is up to YOU, as the craftsman, to read and understand all the safety manuals for the related tools and equipment and decide on the best course of action for your particular project. Wear gloves, mask, eye protection and other protective gear when working with wood and machinery.

